Archiving a Group
If a group was created by mistake, has the wrong curriculum, or is no longer needed, you can archive it. Archiving removes the group from your Groups list. The students stay in your program, so you can add them to another group afterward.
How to Archive a Group
-
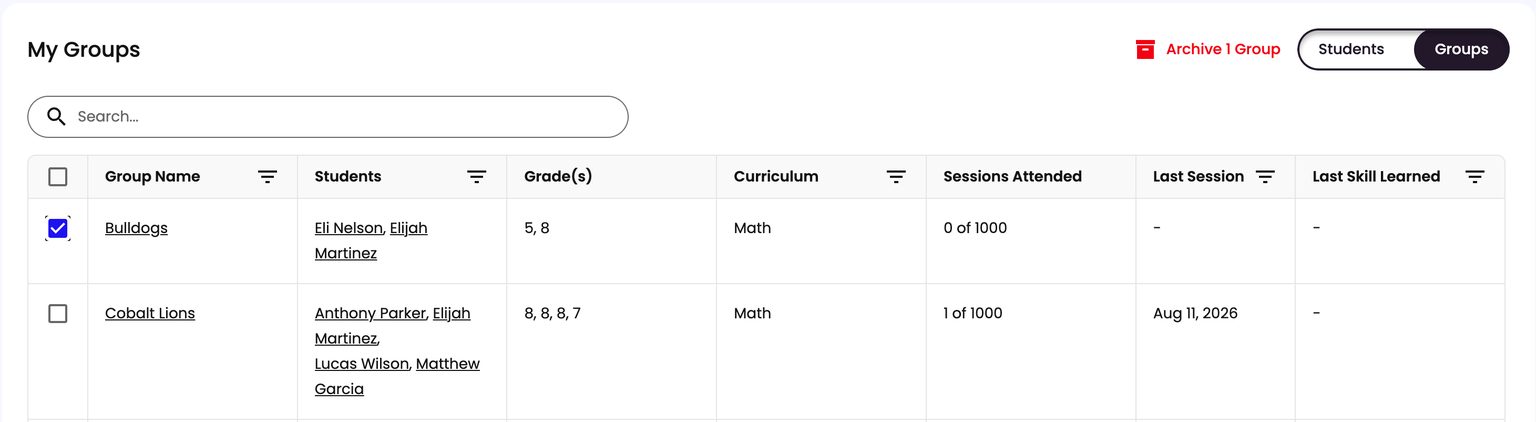
Open your Groups list. From the left navigation, click Students, then switch the view to Groups.
-
Check the group. Click the checkbox at the start of the group’s row. You can check more than one group at a time.
-
Click Archive. The + Create Group button at the top right switches to a red Archive 1 Group button as soon as a group is checked, and the count updates with your selection.
-
Confirm. A Confirm Archive prompt asks whether you are sure you would like to archive this group. Click Ok. Once archived, the group no longer appears in your Groups list.
What Happens After You Archive
- The group is removed from your Groups list and can’t be picked when you create a new session.
- The students are not removed from your program. If they still need a group, you can create a new one that includes them - see How to Create a Group.
Another Way to Remove a Group
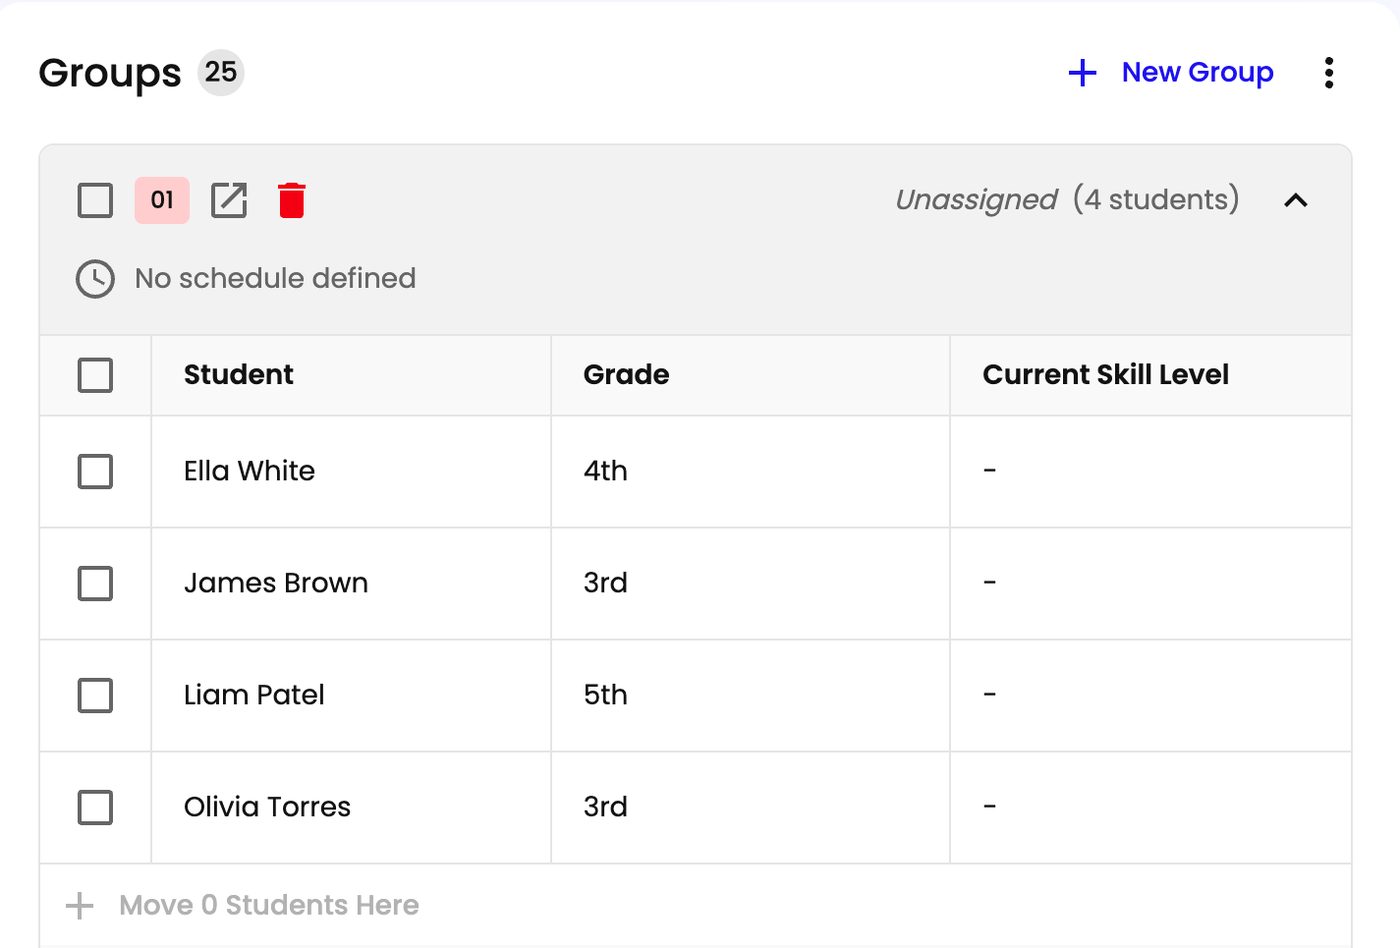
If you are still building out your roster, you can also delete a group from the Group Rostering tab using the trash icon on the group’s card, which returns its students to the unassigned list. See Grouping Students with the Rostering Workspace.